We’ve built more than 250 websites for construction companies across the US, and if there’s one struggle that stops a cool website from being born, it’s having the right pictures to show homeowners the amazing work these contractors do.
It might seem counterintuitive to think that messy construction photos can actually attract more clients, but it’s how we present these photos that really matters. Even a photo of nothing more than freshly-poured foundation concrete can make a huge impact if the “after” photo shows a modern outdoor kitchen.
You don’t need to hire a construction photographer to capture images that convert website visitors to customers, and I’ll explain why.
Why Construction Site Photography Matters for Your Contracting Business
Imagine you’re telling a story without using words. That’s what your project photos do. When potential clients visit your website, they want to see what you’ve done before.
It’s like looking at a menu before ordering food – you want to know what you’re getting.
Good photos show the quality of your work, and that’s like a thumbs-up to clients looking to hire a construction professional.
First Impressions Count
Think of it like meeting someone new. You want to look your best, right? Your website is like your business’s first impression.
When people see stunning photos of your completed projects, they’ll think, “Wow, these folks know their stuff!” It’s like making a great first impression that sticks.
Visual Proof of Skills
Remember when you learned to ride a bike? You probably showed off by riding it without training wheels, right?
Think of construction site photos as the training wheels coming off – they show you’ve got skills! Potential clients can see your expertise just by looking at your work.
Building Trust
We’ve talked about building trust over and over again, so I won’t get into too many details. When people can see your work, they trust you more.
They think, “If they can do this well for others, they can do it for me too!” Photos build that trust. It’s like showing people they can count on you to make their dream projects come true.
Documenting Progress
When you take enough photos of your construction work, you can comparing, seeing what you’re doing well, and identifying areas for improvement.
Photos aren’t just something to show off to potential clients; they can actually help improve your work methods and help you grow as a professional.

Image Source: Pellak Construction
14 Types Of Photos That Showcase Your Construction Project
Some people think there are just a few basic types of construction site photography (and that before-and-after pictures are the only ones that truly matter).
We get it, it’s hard to stop and take before pictures when you can’t wait to get your hands dirty and get the project started. But a few minutes invested in this seemingly unimportant aspect will get you miles ahead of your competition.
Here are some photography types that you need to start planning for:
- Before-and-After Photos
These are crucial for demonstrating the transformation of a construction project from its initial state to completion. They provide a compelling visual narrative of the project’s progress and the contractor’s skills (and it can help you make better project control decisions).
- Aerial Photos
Aerial shots (also known as drone photos) offer a unique perspective of the entire construction site. Drones are commonly used to capture these images, showing the project’s scale, layout, and surrounding environment.
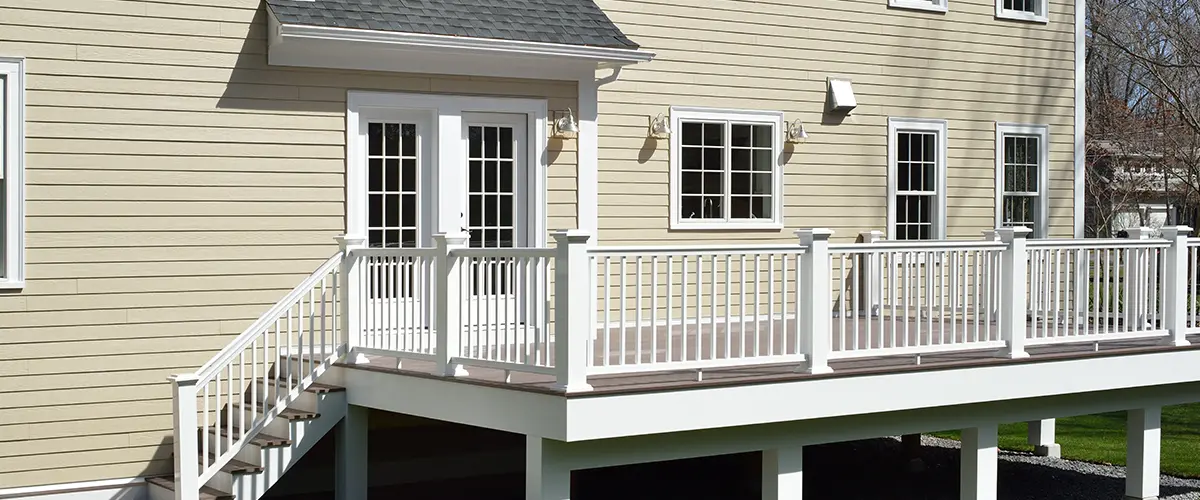
- Exterior Photos
- Interior Photos
Interior shots showcase the quality of workmanship and design within the completed structure. These photos highlight details such as finishes, fixtures, and overall interior aesthetics.
- Detail Shots
Close-up photos of specific design details, materials, textures, and craftsmanship can emphasize the contractor’s attention to quality and aesthetics.
- Progress Photos
Capturing various stages of construction provides a chronological record of the project’s development. Progress photos can be used to create a visual timeline and illustrate the construction process.
- Safety and Compliance Photos
These photos demonstrate the contractor’s commitment to safety on the job site. Images of workers wearing appropriate safety gear, following protocols, and adhering to regulations can instill confidence in potential clients.
- Team and Worker Photos
Including photos of the project team and construction workers can add a personal touch to the project. It humanizes the process and helps clients connect with the people behind the work.
- Nighttime Photos
If the project involves lighting or special nighttime features, capturing images after dark can showcase these aspects effectively.
- Surrounding Area Photos
Images of the construction site in its context—surrounding neighborhoods, nearby landmarks, or scenic views—can help potential clients understand the project’s location and its impact on the surroundings.
- Client Interaction Photos
- Energy Efficiency and Sustainability Features
If the project incorporates green or sustainable features, capturing photos that highlight these aspects can attract environmentally-conscious clients.
- Weather Conditions
While this might not be a primary focus, occasional photos taken in different weather conditions can add authenticity to the project documentation.
- Functional and Practical Use Photos
If the construction project involves functional aspects like unique storage solutions, workspaces, or other practical elements, showcasing these in-use images can be beneficial.
Not all of these are good for your website, but you also need to consider social media posts, your website’s blog, or even printed promotional materials where client interaction photos might turn out to be a stellar choice.
Example: If you are a kitchen remodeling contractor and offer space optimization services, it would be a shame not to advertise that custom kitchen pantry you’ve just finished building!
Mastering Before-and-After Construction Site Photography
Before-and-after photography isn’t just about snapping a couple of pictures; it’s about telling a visual story of your project’s progress and transformation.
These images have the power to showcase your skills, professionalism, and attention to detail to potential clients, making them an essential tool in your marketing arsenal.
Same Angle, Different Story
When it comes to before-and-after photos, consistency is key. This visual continuity adds credibility to your documentation and highlights your ability to execute a project flawlessly.
Before-and-after photos are your ultimate proof of transformation, turning potential clients into believers with a visual journey that says, “We make magic happen!”

Image Source: Remodeling Journey
The Magic of Lighting
Great lighting is your ally in photography. Ensure that your before and after pictures are taken under similar lighting conditions. This practice guarantees that your project’s transformation is accurately represented without any influence from shifting lighting scenarios.
Cleaning and Organizing
Before you snap that “after” photo, take a moment to clean up your workspace. Remove tools, debris, and any other clutter to present a polished and inviting image. This showcases your dedication to delivering a pristine final product.
Taking a clean “after” photo involves clearing tools and tidying the construction site. This showcases your skill, boosts professionalism, builds client trust, enhances visuals, and tells a powerful success story.
Close-Ups and Focused Shots

Image Source: KHB Construction
Capturing Progress

Creating Compelling Compositions
Frame your shots thoughtfully to create visually captivating compositions. Utilize the rule of thirds, leading lines, and other composition techniques to guide your viewers’ gaze and create a dynamic image that draws them in.
Go wide with landscape mode! When snapping photos of your projects, turn your camera sideways for a broader view. This mode captures the big picture, showcasing both the finer details and the overall layout.
The Power Of Before And After Sliders In Action
Humans are visual creatures, and seeing a stark visual comparison between the “before” state and the “after” state can be incredibly impactful.
The contrast between the two images highlights the transformation that has taken place, making it easier to appreciate the improvements made during the construction process.
Here are some great examples.


Image Source: KHB Construction
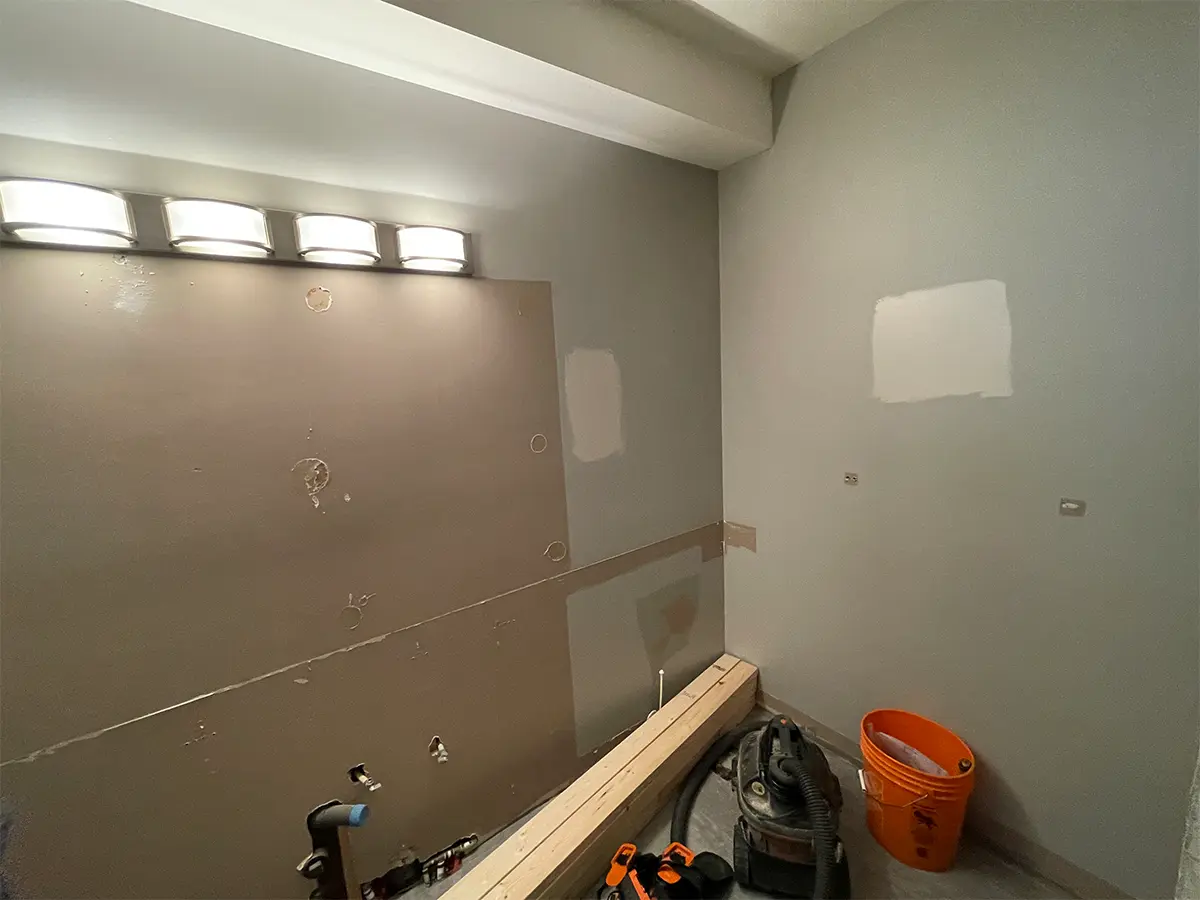
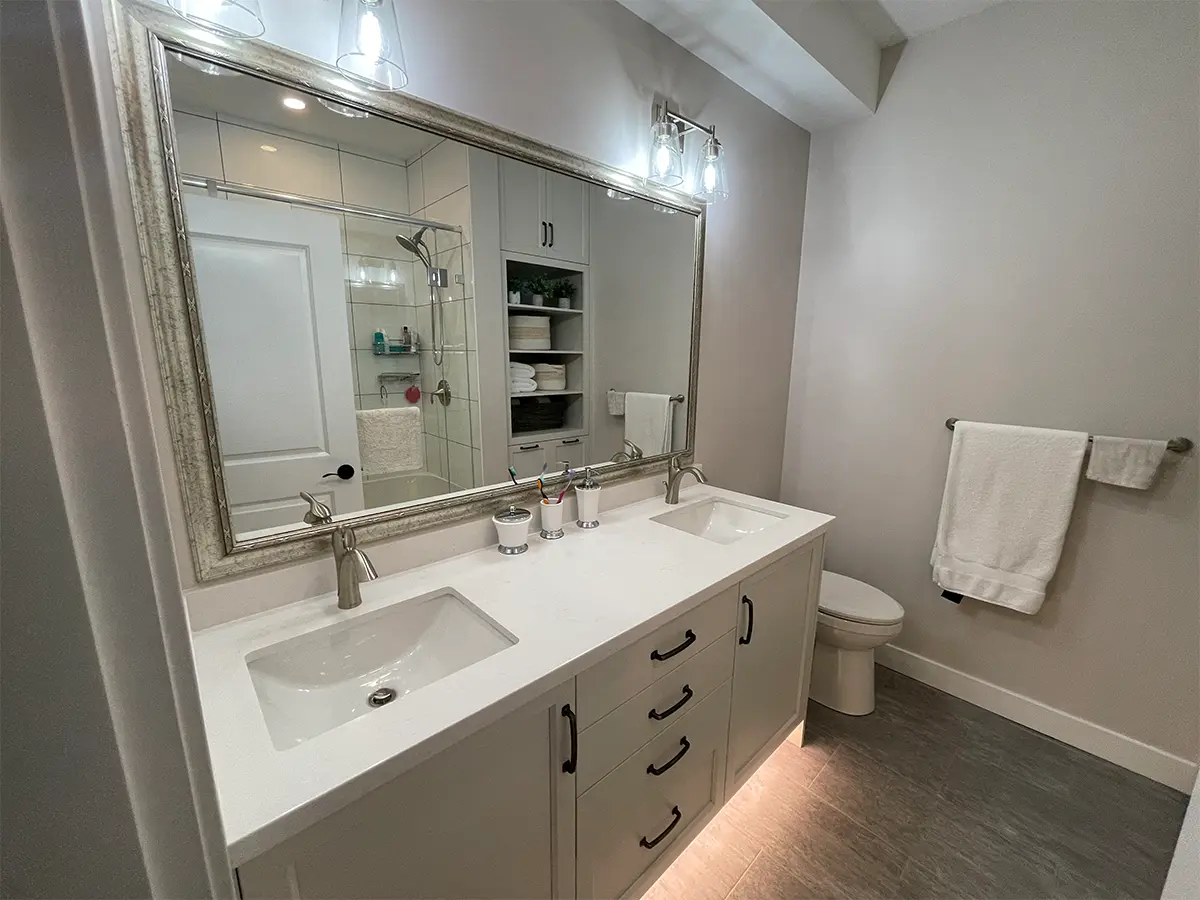
Image Source: City & Country Contracting
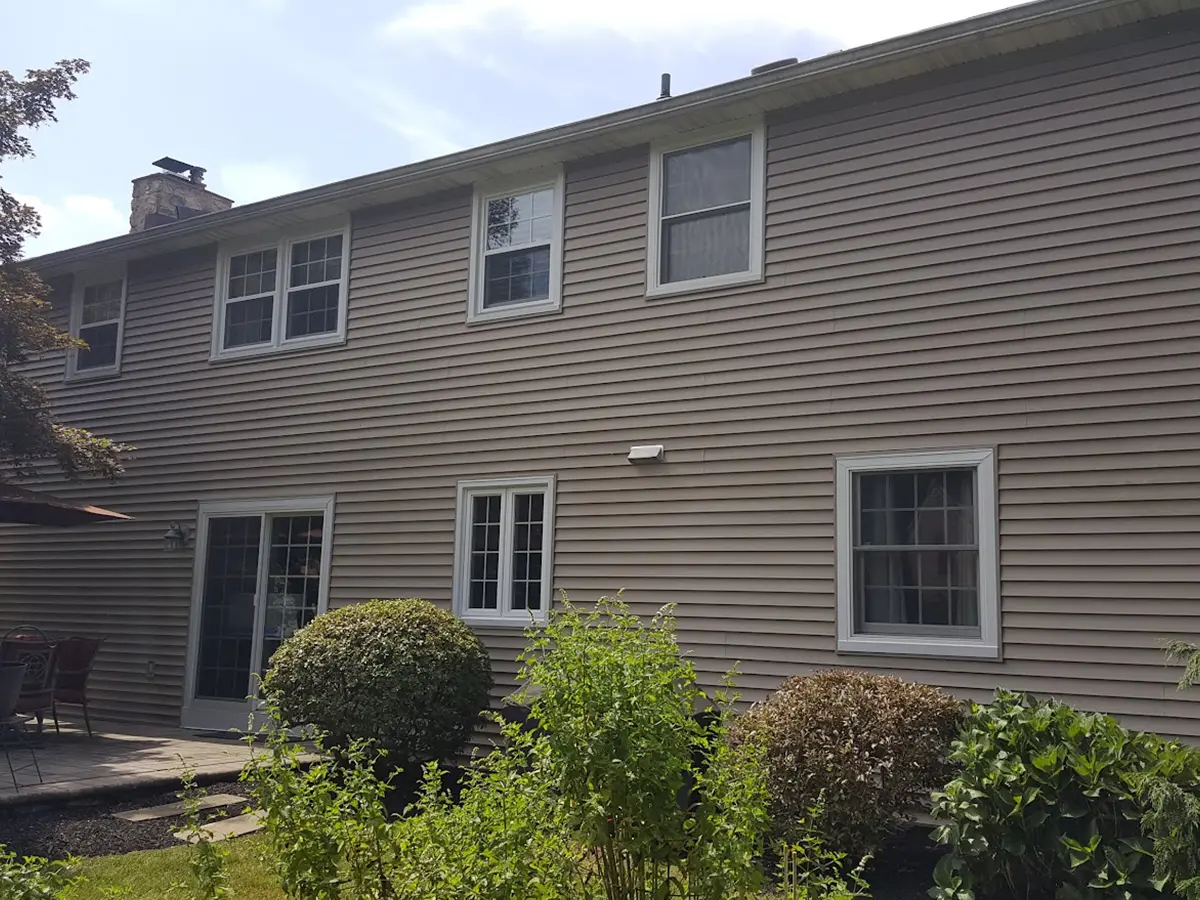
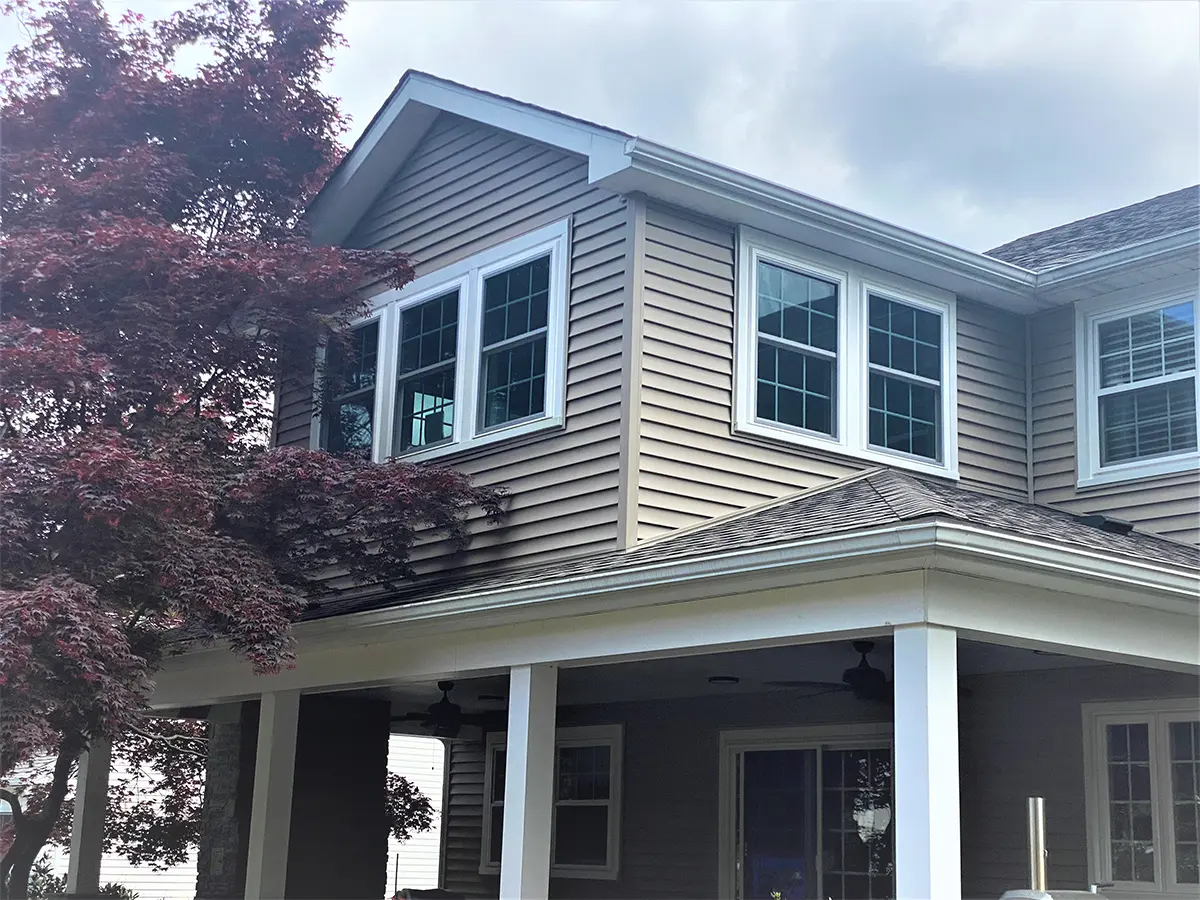
Image Source: Pellak Construction
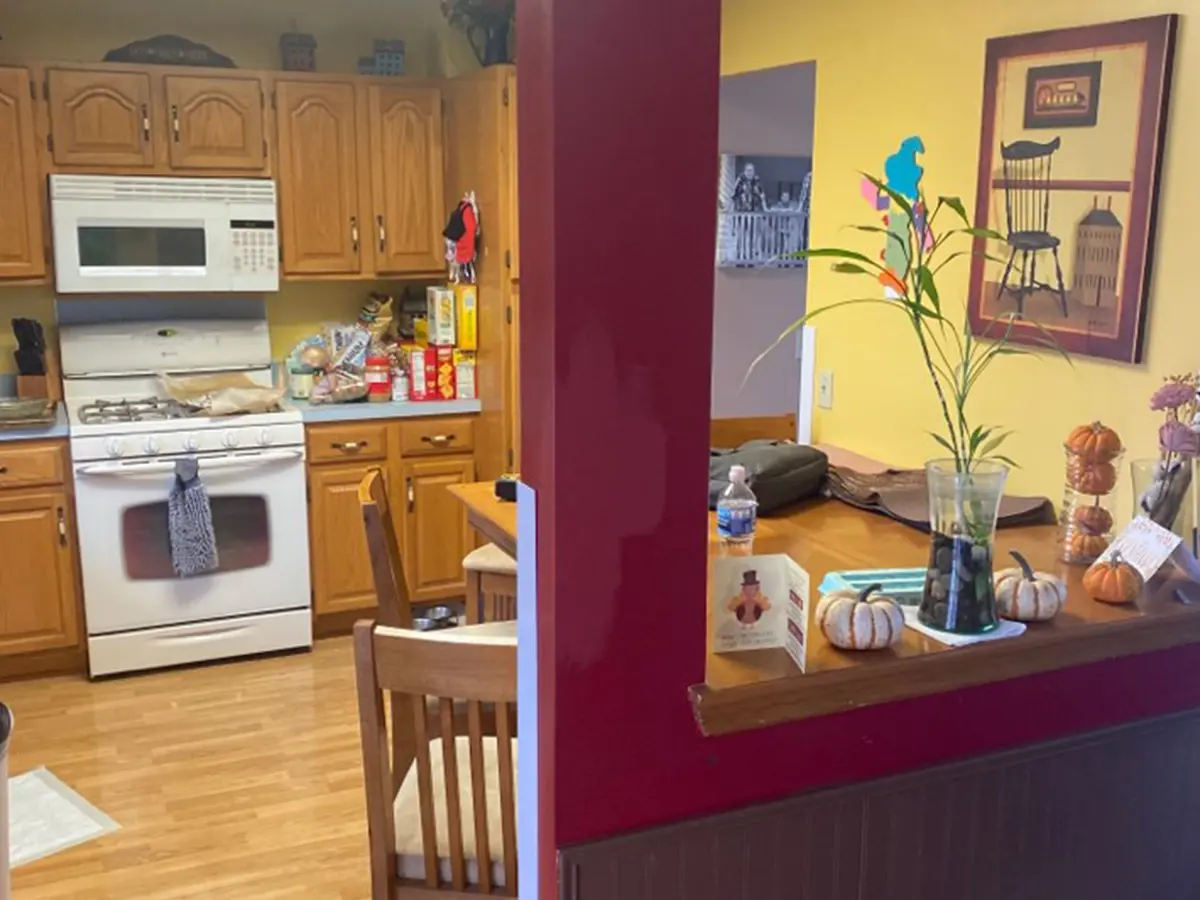

Image Source: Home Matters Construction
How Lighting Can Make Or Break Your Construction Photography Efforts
Good lighting essentially means having the right amount of illumination to capture your subject clearly and vividly. It’s about ensuring that your photos aren’t too dark or too bright, allowing your project to be seen in its truest form.
Natural Light

Avoid Harsh Sunlight

Even Indoor Lighting

Turn Off Flash
For most construction site photos, the flash on your camera or smartphone might not be necessary and can sometimes create unnatural lighting.

Golden Hours

Image Source: KHB Construction
Construction Site Photography FAQs
The number of photos you should take depends on the scope and stages of your construction project.
For comprehensive documentation, consider capturing key milestones, such as the initial state, various construction phases, and the completed project.
Aim for a balance between showcasing different aspects, details, and overall progress. While there’s no fixed number, a collection of well-chosen images can provide a dynamic visual representation of your work.
Even one excellent before and after picture of your project can do wonder in terms of how homeowners think of your work.
Taking excellent construction site photos involves a few key considerations:
- Lighting: Opt for natural light or well-lit areas for even illumination.
- Composition: Use the rule of thirds and leading lines for balanced framing.
- Angles: Maintain consistent angles for before-and-after shots to clearly show the transformation.
- Focus: Ensure your subject is sharp and in focus, highlighting details.
- Background: Clear clutter and choose backgrounds that enhance your subject.
- Safety: Showcase safety measures to demonstrate professionalism.
- Progress: Capture key stages to tell a compelling story of the construction process.
While professional photographers can bring a level of expertise to your project photos, as a contractor, you have a unique advantage in capturing the authenticity of your work.
If you have the resources and are willing to cough up the extra dough, hiring a professional can be beneficial, especially for high-profile projects or marketing campaigns. However, you can take great pictures with your smartphone as long as you have good lighting and a steady hand.
You Take The Pictures, We Put On The Pretty Ribbon And Ship Them
Remember, all you really need to take good photos of your construction projects is a clean site, some good lighting, and your smartphone camera. We’ll use them to help build the much-needed trust that turns website visitors into paying customers.
At Contracting Empire, we want to see your construction business succeed! We’ll present your past work in a way that makes homeowners say, “I want something like that, too!” Schedule a 1-on-1 consultation if you want a website that positions you as the best contracting choice in your area.

Theo Grigore, Copywriter @ Contracting Empire
Because of her marketing degree and her 14+ years of experience as a writer, Theo loves understanding marketing psychology and turning it into words people actually want to read.
When she’s not crafting compelling copy, you can find her strategizing over online & board games, watching a good thriller, or getting creative with scrapbooking.